The Building mechanic, released in Towns v0.50, completely changes the way you create structures in this game. Building encompasses any structure made using Walls, Roofs, Ladders, Doors and Windows. You have a total of 12 overworld layers to work with but you may dig underground for more space. For the purposes of this article, a 2-story house will be made step by step.
Useful keys to remember:
- The Z key will visually flatten every block on the current level, helping you see during the building process. The T key does the same but only near your mouse cursor (only works on placed blocks though).
- Use the mouse scroll or Q/X keys to navigate between levels. The brightest most highest level you can see is the one you're currently on. Keep track of the level indicator near the mini-map.
Foundations[ | ]
Before you build anything, make sure you have enough resources and workers to complete your structure.
Clearing[ | ]
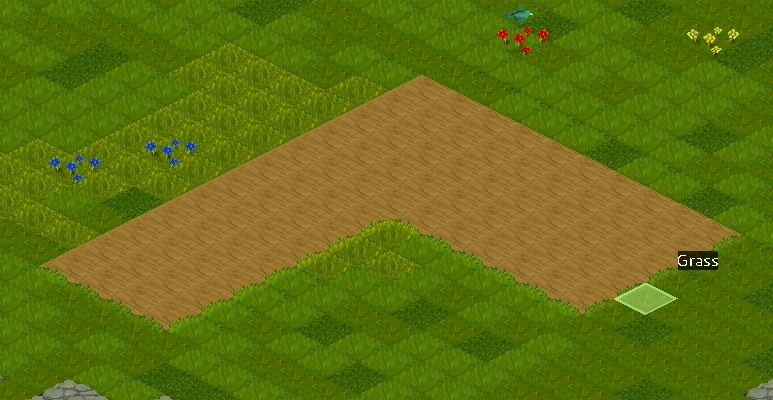
Once you have chosen an area you would like your building to be located, use the mine, dig, chop and cut commands to clear away any tiles or flora in the way. Make sure you collect or delete the items that have dropped during this procedure.
 Clear away the flowers and stone. |
Flooring[ | ]
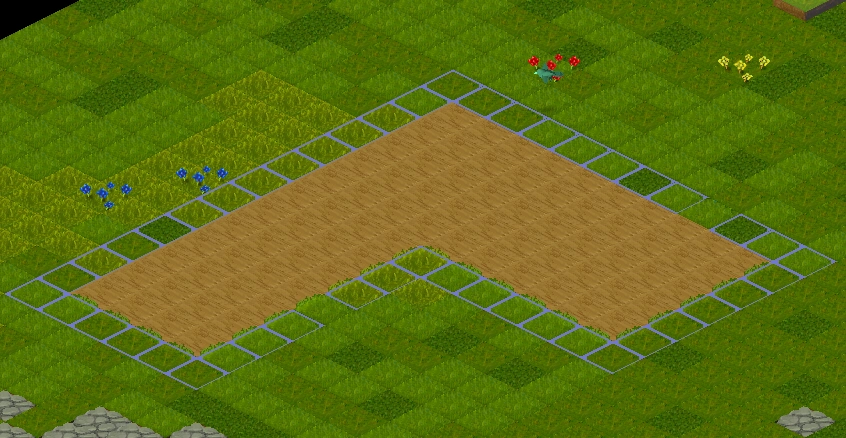
Plan out the dimensions for your house and dig out portions of the ground where the interior will be. This step is optional (if you like a dirt/stone floor) and can be completed after the main building has been made.
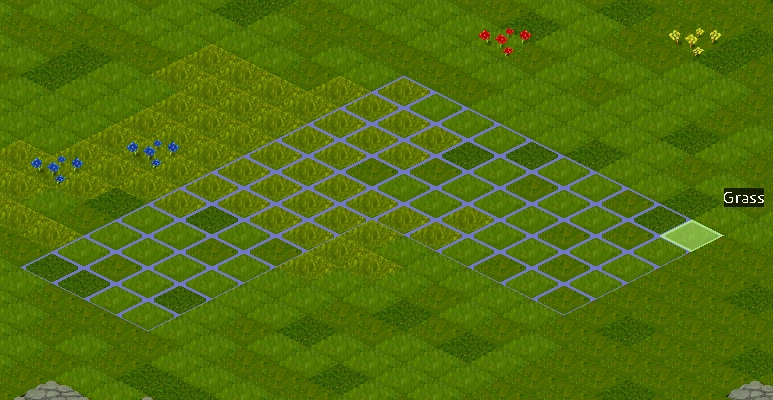 Dig orders. |
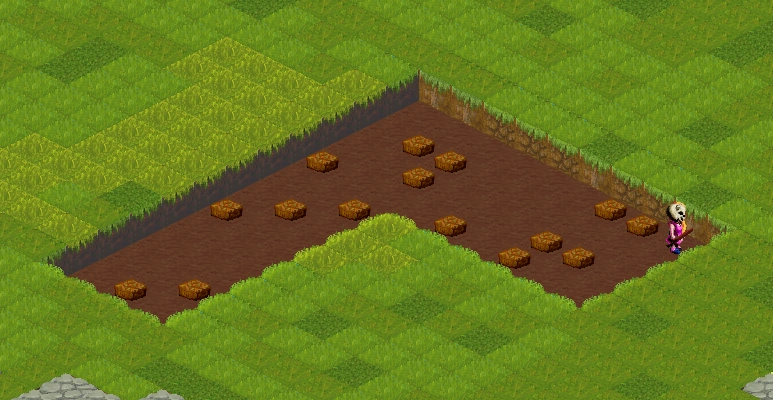 Foundation dug out. |
Once they have dug up the ground, have your civilians collect or delete the items left behind. Replace the dug up floor with a material of your choice. You will need to go down a level to be able to place the floor down.
For this house, Light wood blocks will be used.
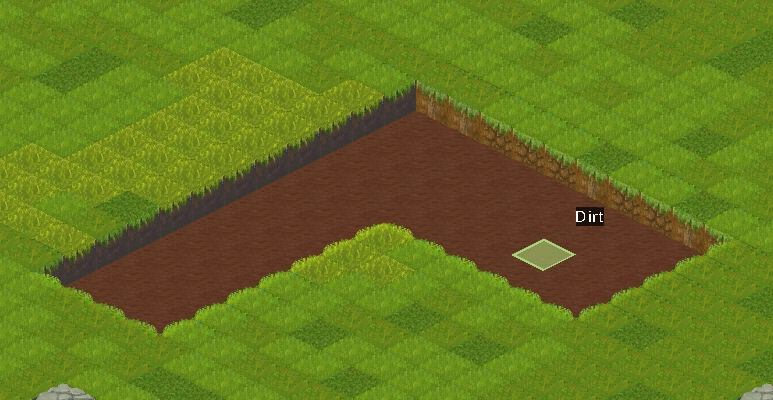  Cleared mud that's left behind. |
  Placed wooden floors. |
Building (Ground)[ | ]
First layer[ | ]
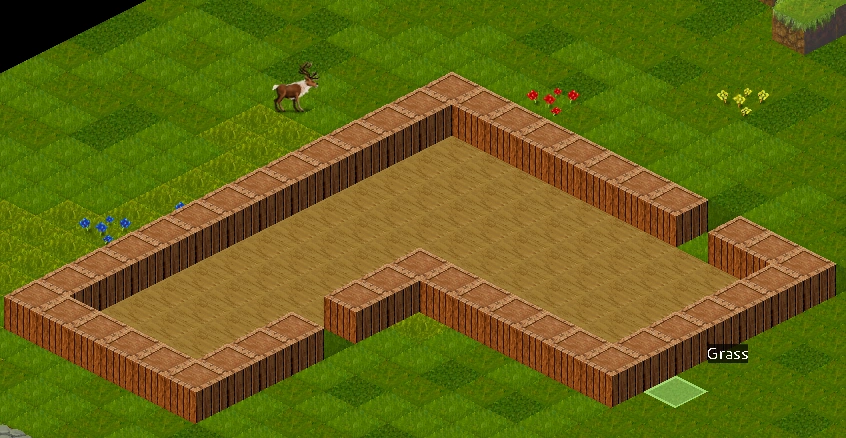
Place down walls of your choice around your floor tiles. You may leave space for any future doors or windows but you don't need to as you can delete the walls and add in those later.
For the flooring of this house, Wooden walls will be used.
  Orders for wooden walls: Note the spaces for where the doors will go. |
  First walls placed. |
Scaffolding[ | ]
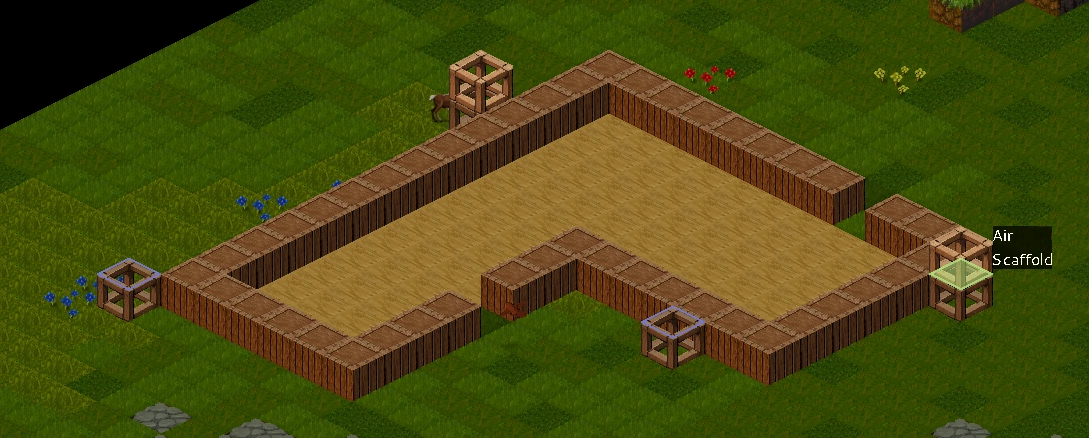
Once your first layer of walls have been placed, you may want to add several bits of scaffolding. Scaffolding allows your townsfolk to move up and down layers freely, improving efficiency and reducing the risk of them getting stuck on the higher levels. Every time you build up an additional level, make sure you add a level to your scaffolding.
  Several scaffolding positions have been established. |
Second layer (or more)[ | ]
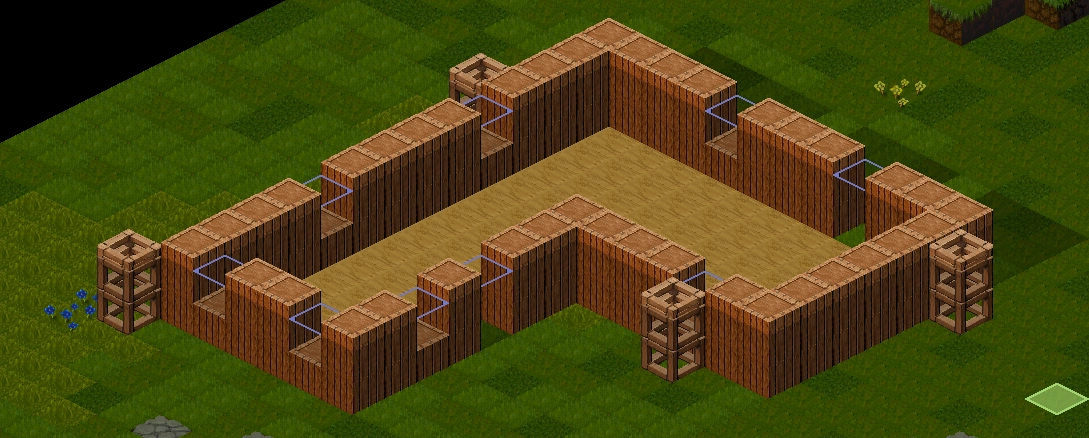
You should be able to place another layer of walls on top of the first layer. Make sure you place the walls directly on top of the previous layer or else they will fall off and become invalid.
  Ordering walls above EXISTING walls. |
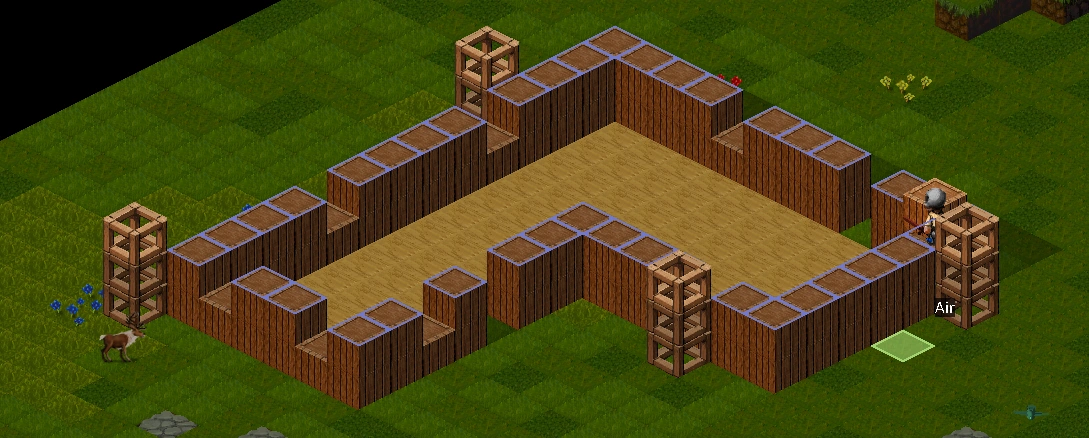
Once those walls have been placed, you may place down the remaining walls (the ones above a door or a window gap).
  Filling in the gaps. |
Doors and windows[ | ]
Now you should have gaps for where your doors and windows would be located. You should be able to place them down in their correct spots. If a window is at a higher level than ground, make sure you add a scaffold next to that spot.
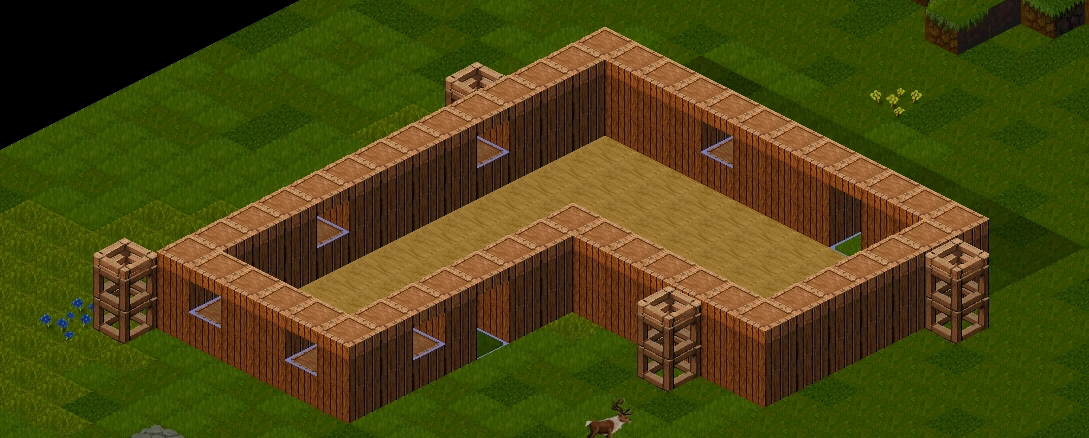  Orders for doors and windows have been made in the gaps provided. |
Building (Second story)[ | ]
Flooring[ | ]
Place another layer of walls above the previous layer. After that has been completed, you may begin filling in tiles for the second story floor, starting from the sides closest to the existing walls and working your way towards the center. You cannot place down walls which are not adjacent to any other walls. You may want to leave a gap for future ladders.
  First inner ring of flooring. |
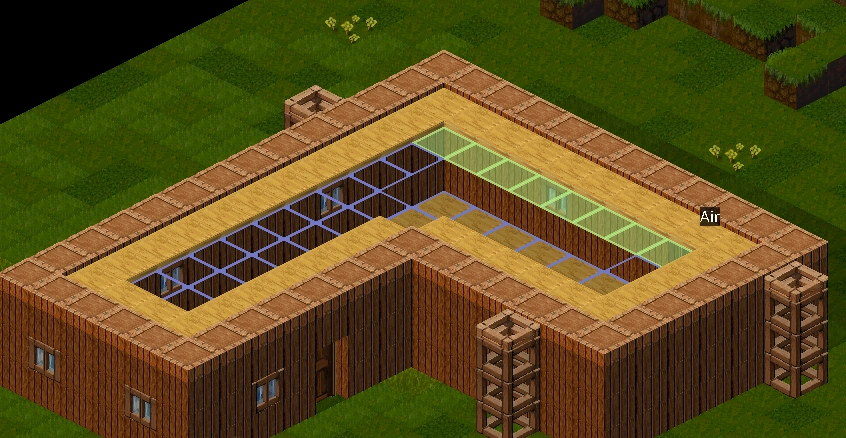  Second inner ring of flooring, etc. |
Balconies[ | ]
You may expand outwards from the existing walls to create an overhand or balcony. Again, you must work your way outwards. Balconies will create shadows on the levels below them.
  First row of balcony blocks. |
  Second row of balcony blocks, etc. |
Second story walls[ | ]
After the flooring has been complete, you may add additional walls in a similar fashion to the first and second layers (see above).
  Second story walls complete. |
Finishing off[ | ]
Roofing[ | ]
You may add a layer of roofs of your choice on top of your house. Since you cannot press Z to flatten roofs, it's easier to work line by line from the far side.
For the roof of this house, Red roofs will be used.
  First rows of roofs. |
  Second rows of roofs, etc. |
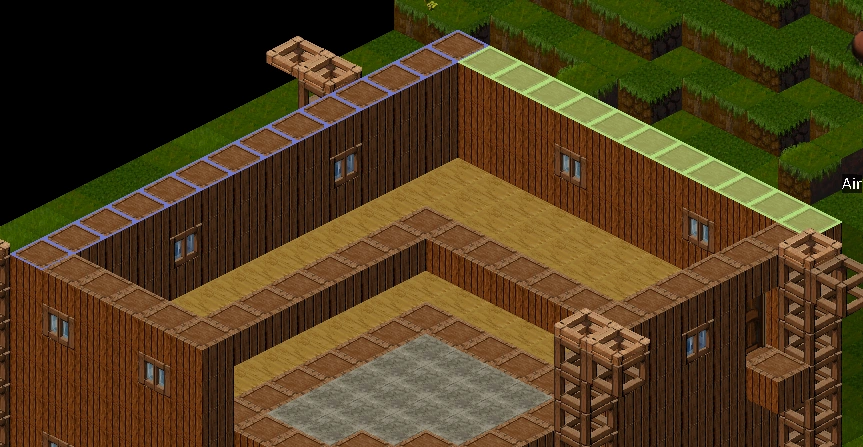
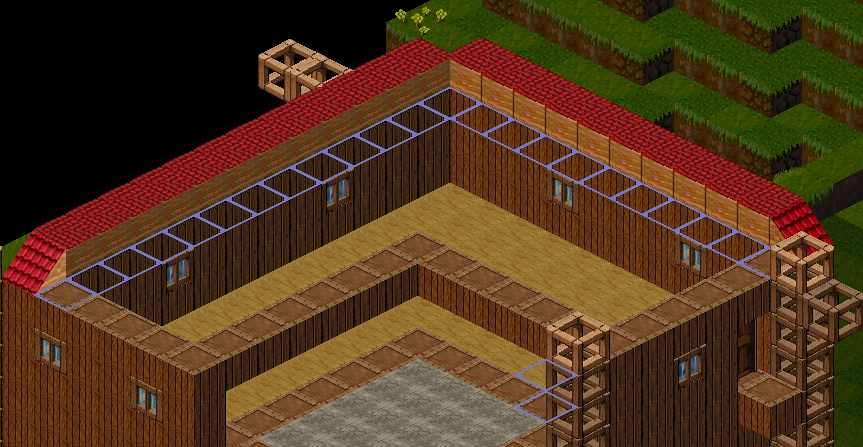
If you want to make the roof overhang, simply add a ring of roofs around the exiting roof. You may need to add some scaffolds branching out to make way for the overhanging roof. Note that you cannot do the corners initially as they will become invalid as they are not attached to any other block. Once you have placed the other roof blocks, the corners can be done.
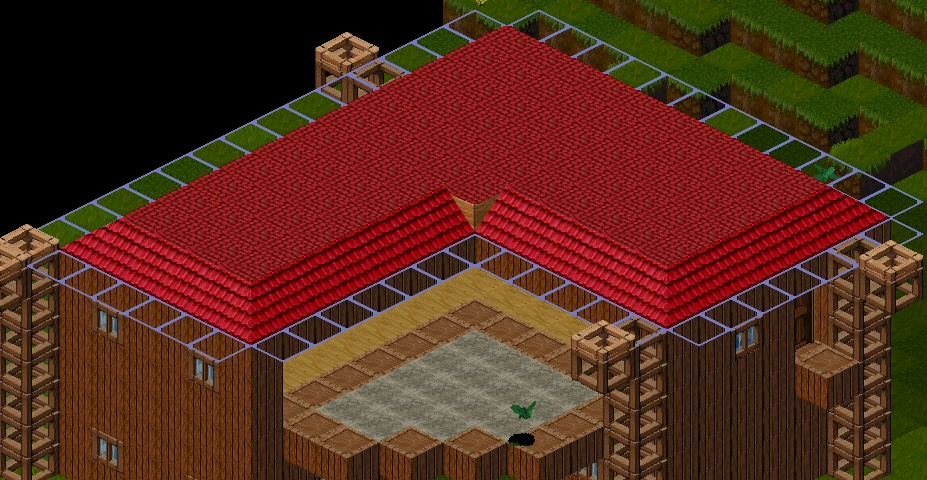  External ring of roofs. |
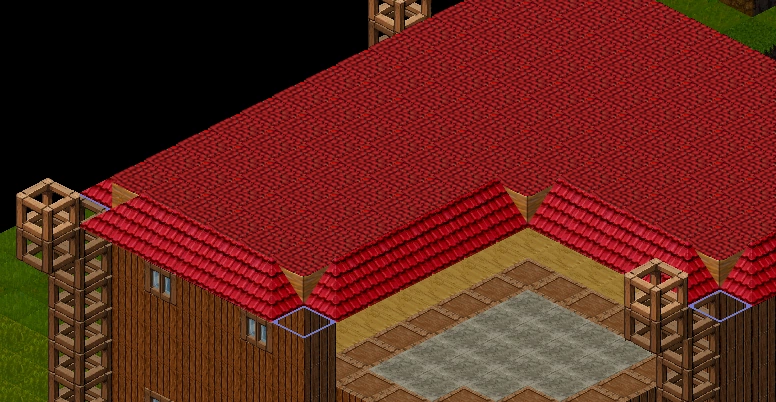  The remaining corners. |
Roofs and floors provide Roof bonus to area directly below them.
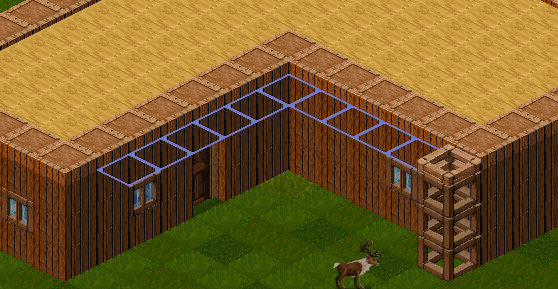
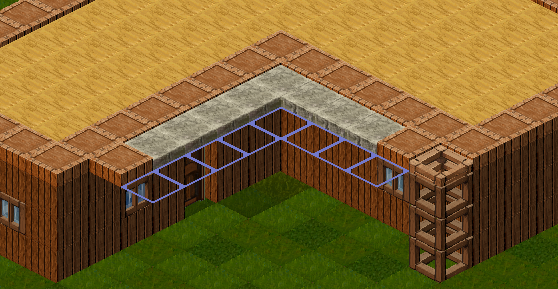
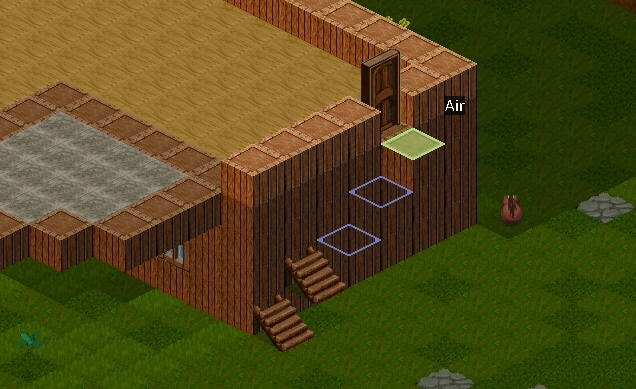
Ladders[ | ]
It doesn't matter when you add in the ladders but when you do, there either needs to be a block it can rest on or a block to its side it can stick to. Make sure you place them one at a time starting from the bottom. Note that there's currently no way to change the ladder's orientation but it functions all the same.
 Order positions of ladders |
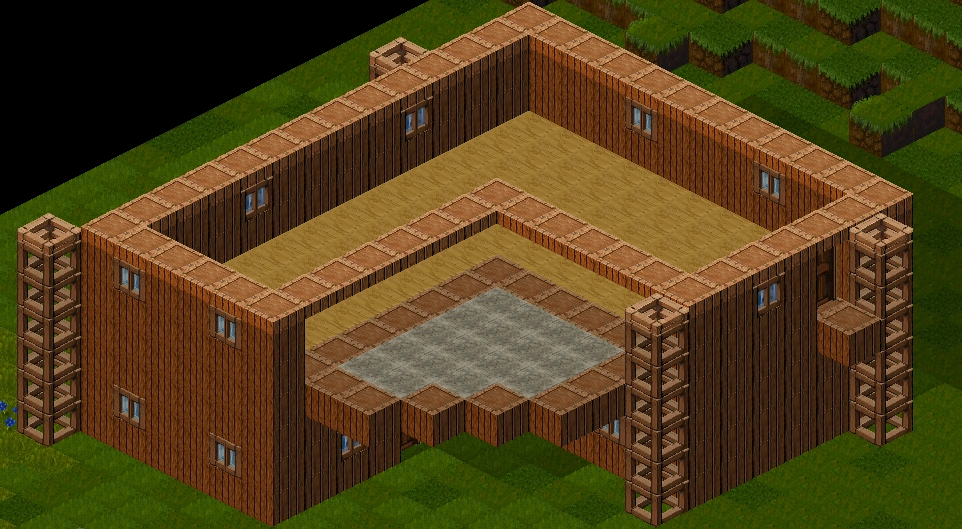
Removing Scaffolds[ | ]
Once everything is completed and higher levels are accessible using ladders, you may delete the scaffolding. You can either order your townsfolk to delete them for you (make sure you start from the highest most scaffold and work your way down) or you can manually right click and click on "Destroy Scaffold".
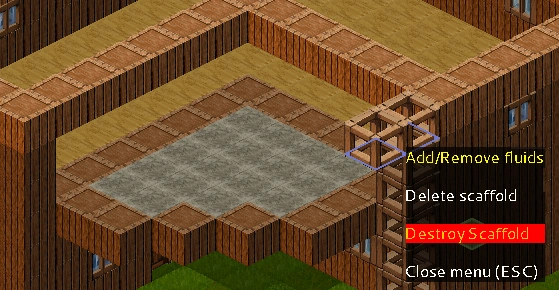 Right click delete: tedious but instantaneous. |
Decorate/Furnish[ | ]
Now you may decorate and furnish up the place to what you most desire.
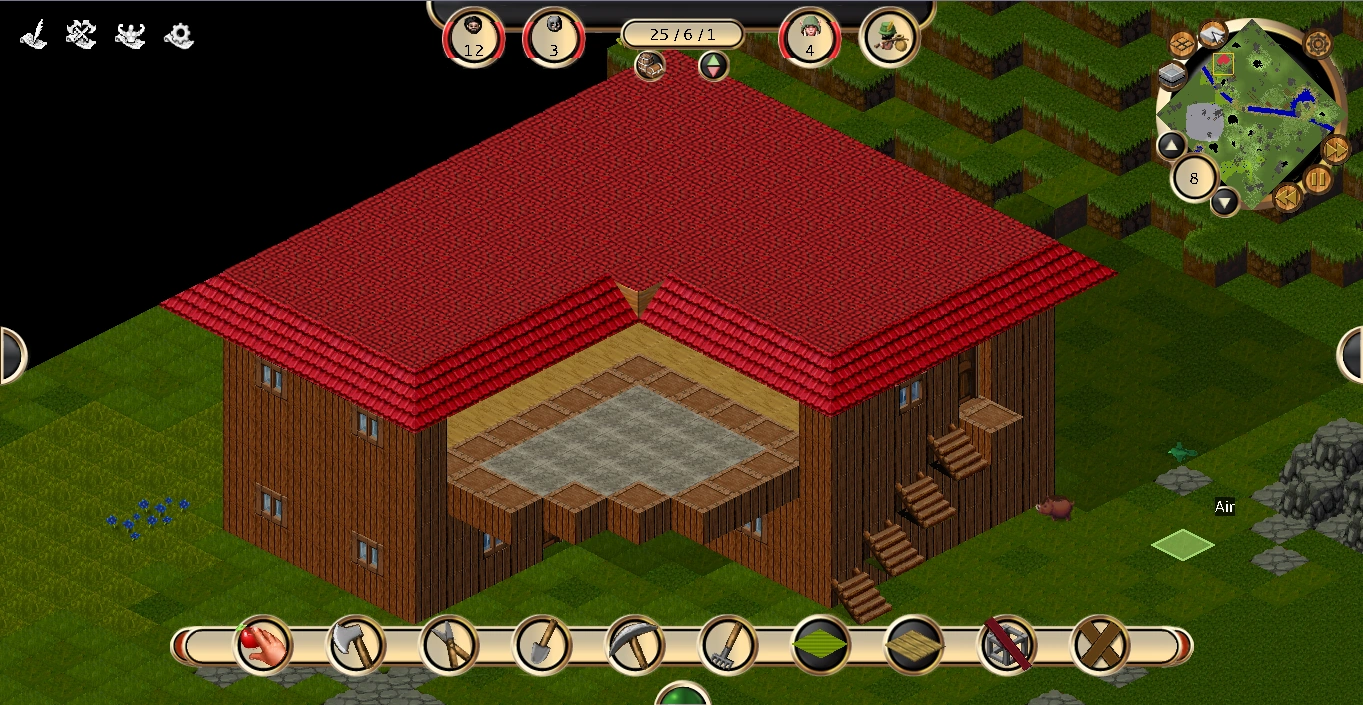  Building complete. |